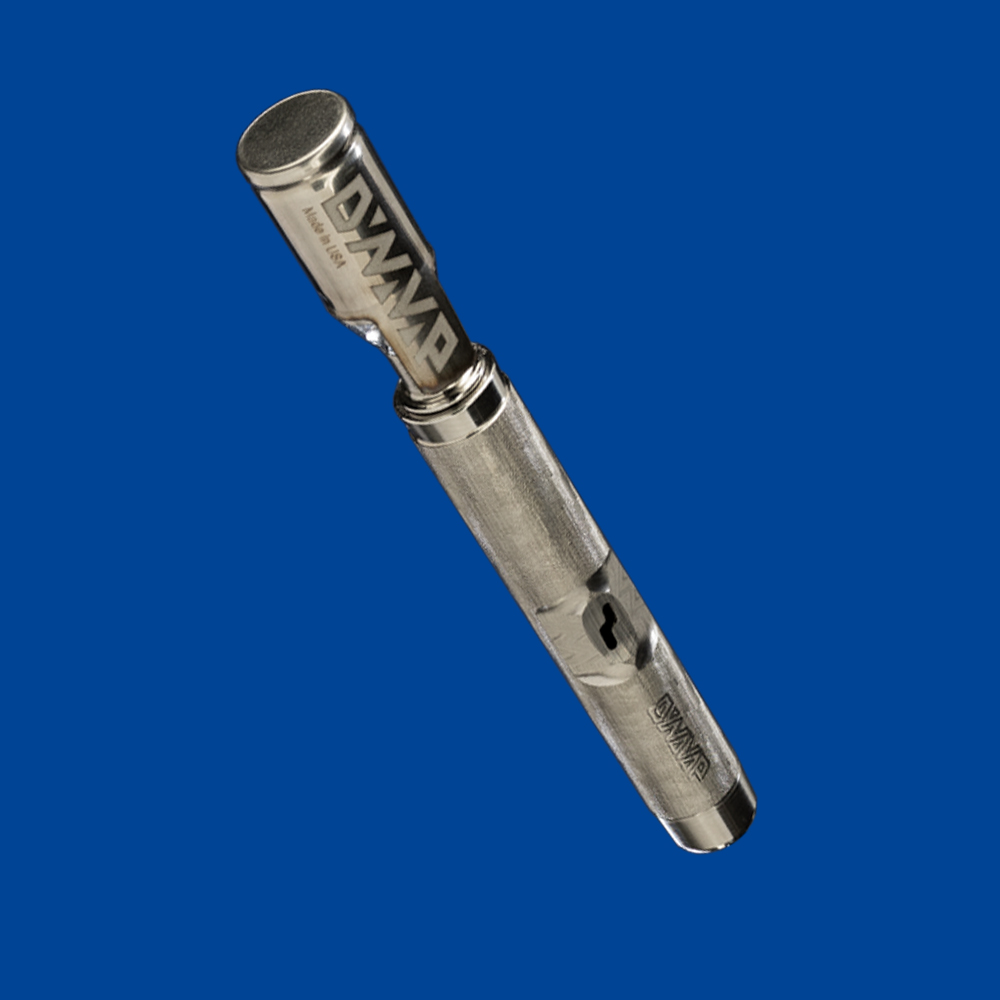
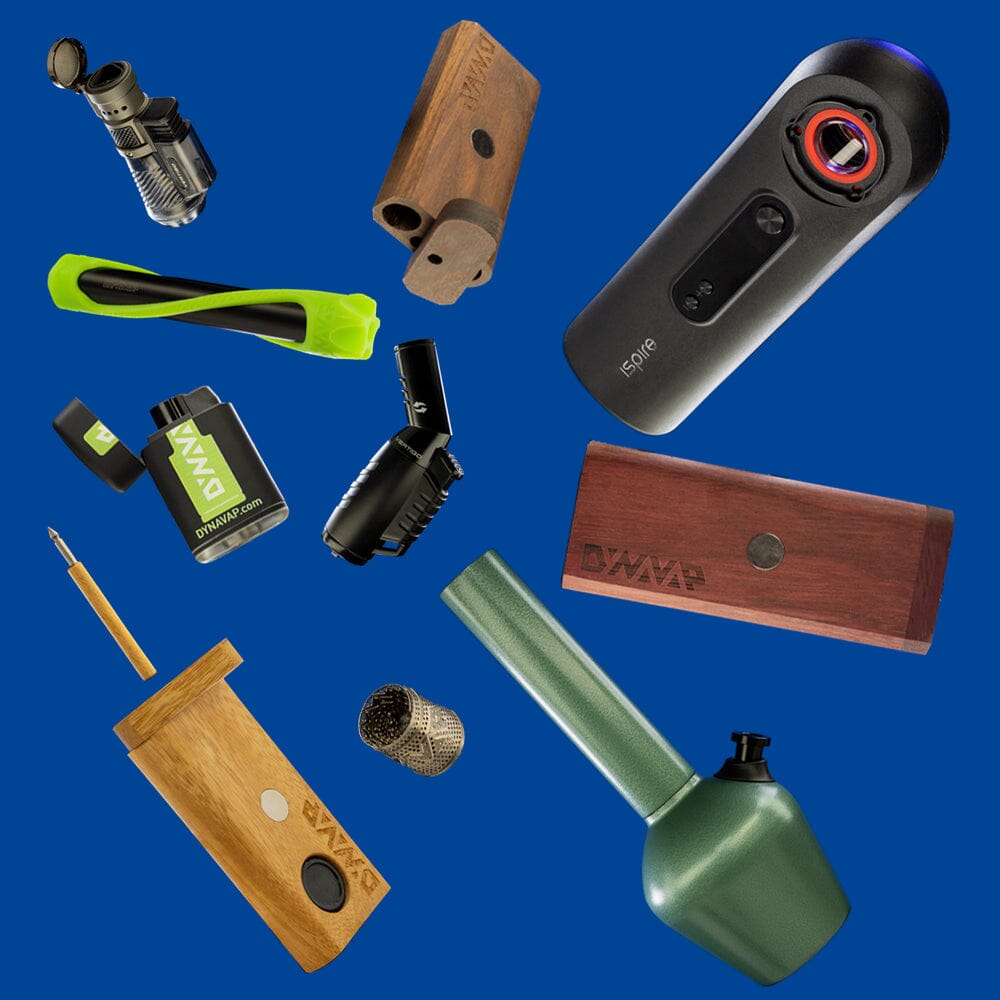
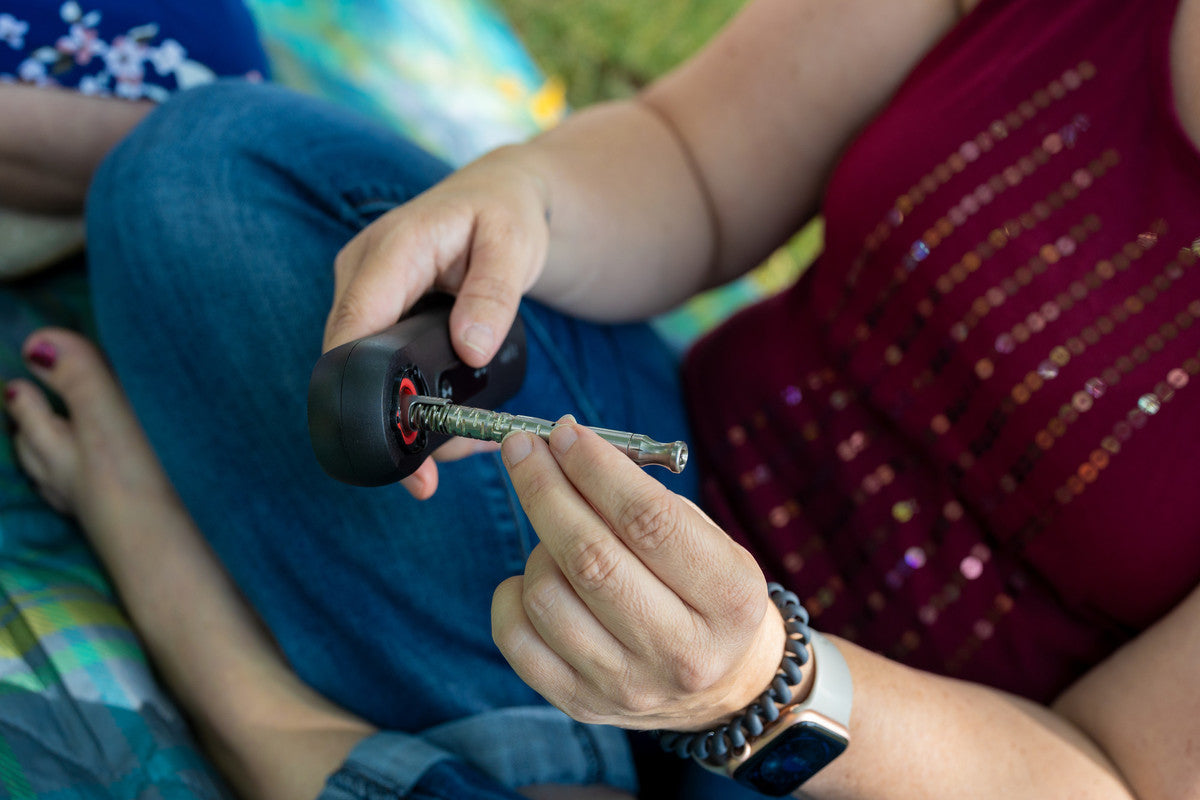
Keeping your DynaVap dry herb vaporizer in peak condition is the best way to guarantee a satisfying and smooth experience every time. No matter whether you’re a daily user or just starting out, as with any vape, cleaning it on a regular basis is essential to get the full flavor. Luckily, compared to most battery vapes, the DynaVap is quite easy to clean. There is no mesh or electronic parts to worry about, so you can get that full flavor and performance that has set DynaVap apart for years. This guide will walk you through every step of cleaning your DynaVap, making sure you can enjoy it just like it’s fresh out of the box.
Why Clean Dry Herb Vaporizers?
Over time, residue builds up in all vaporizers. That residue gets cooked over and over, meaning that as time goes on, a burnt taste can creep into your vape. It's basically like a pot you use over and over...you hit a point where you just have to clean it as the food tastes less like food and more like the burnt base of the pot. Vapes are pretty much the same - their chambers and the edges get residue cooked to the side. In the case of the DynaVap, that is mostly in the cap, tip, and condenser. This can reduce airflow and create less-than-optimal flavor. Cleaning these parts gets rid of all of the residue so it tastes like new again. Unlike other vapes where getting a 100% clean is near impossible, DynaVap vaporizers stand out because the DynaVap has no battery. Cleaning to a high level is a breeze. It can last for years!
When Should You Clean Your DynaVap?
How often to clean your DynaVap vape varies depending on how often you use it and what materials you’re vaping, as it's easier to get a good clean, unlike usual vapes that need almost daily cleanings. For a good rule of thumb, DynaVap vaporizers should get a thorough cleaning every one to two weeks if you’re a frequent user. If you’re a casual user, then once a month would be sufficient. You’ll know it’s time for a cleaning when the draw quality and the taste differ than when you started using the vape. Preference does come into play here.
Tools You Need To Clean A Vaporizer
Cleaning your DynaVap Vaporizer doesn’t require any fancy equipment, just a few household items:
- Isopropyl Alcohol (90% or higher): The higher the percentage the better
- Small container: For soaking the parts.
- Pipe cleaners or cotton swabs: These help reach inside the condenser.
- Microfiber cloth: For polishing off (not required, but we all like a shine)
- Optional: A soft bristle brush to go at any stubborn residue

Step-by-Step Guide to Cleaning Your DynaVap
1. Disassemble Your DynaVap
To start, make sure the DynaVap is completely cool, then carefully take apart each component:
- Cap: Slide it off the tip.
- Tip: Remove it from the midsection.
- Condenser: Carefully pull out the condenser (the inner tube) from the midsection.
- O-rings: Take note of the location of each O-ring so you can put them back correctly. Avoid soaking the O-rings in alcohol, as it can degrade the material over time.
2. Soak the Parts & let it seep (not the Cap)
Place the tip, midsection, and condenser into a small container filled with isopropyl alcohol. Soaking for about 15-30 minutes should be plenty to loosen most of the residue. The longer you let it soak, the easier it will be to clean it. Tip: If you’re dealing with a lot of residue build up, leaving the parts to soak overnight can be a good idea.

3. Clean the Condenser
After a good seep, use a pipe cleaner dipped in isopropyl alcohol to clean the inside of the condenser. Run the pipe cleaner through it a few times until it’s free from any residue or buildup. If it’s particularly dirty, a second round of soaking may be helpful.

4. Scrub the Tip and Cap
Use a cotton swab or a small brush to clean any remaining build up on the tip and cap. Focus on the screen inside the tip, as it tends to collect material that can impact airflow and flavor. Be gentle but thorough to ensure every nook and cranny is clean.
5. Rinse and Dry
Once everything is clean and free of residue, rinse each part under warm water to remove any residual alcohol. Be sure to make sure everything is completely dry when reassembling. Then, you can use a microfiber cloth to shine your device. This not only gives a good polish and a shine, but also helps dry it off.
6. Put Your DynaVap back together
Now that each part of the vape is clean and dry, it’s time to put everything back together. Carefully place the O-rings back in their positions on the condenser and tip (when applicable). Re-inserr the condenser into the midsection, slide the tip back on, and finish by putting the cap on the tip.
Bonus Pro Tips for Keeping Your DynaVap Cleaner Longer
- Use a Brush After Each Session: A quick brush through the tip and screen after a sesh can help keep buildup to a minimum, quickly ensuring all the left over material is brushed out. This saves on the deep cleaning and frequency of cleaning needed.
- Avoid Overpacking: A common mistake is overpacking. For max flavor and air flow, pack on the lighter side. You will get used to what is the right level for you.
- Types of Herbs: I can not comment on the super sticky stuff. :) Sometimes need is a must. For sticky herbs you need a vape you can clean well. As we have read, nothing beats a DynaVap! It is the best dry herb vaporizer for sticky herb.
Enjoy Your Refreshed DynaVap!
Once you get used to a quick brush out each day or after each sesh and a regular clean, it really is not much hassle to keep the taste at 100% for your dry herb vaporizer.


